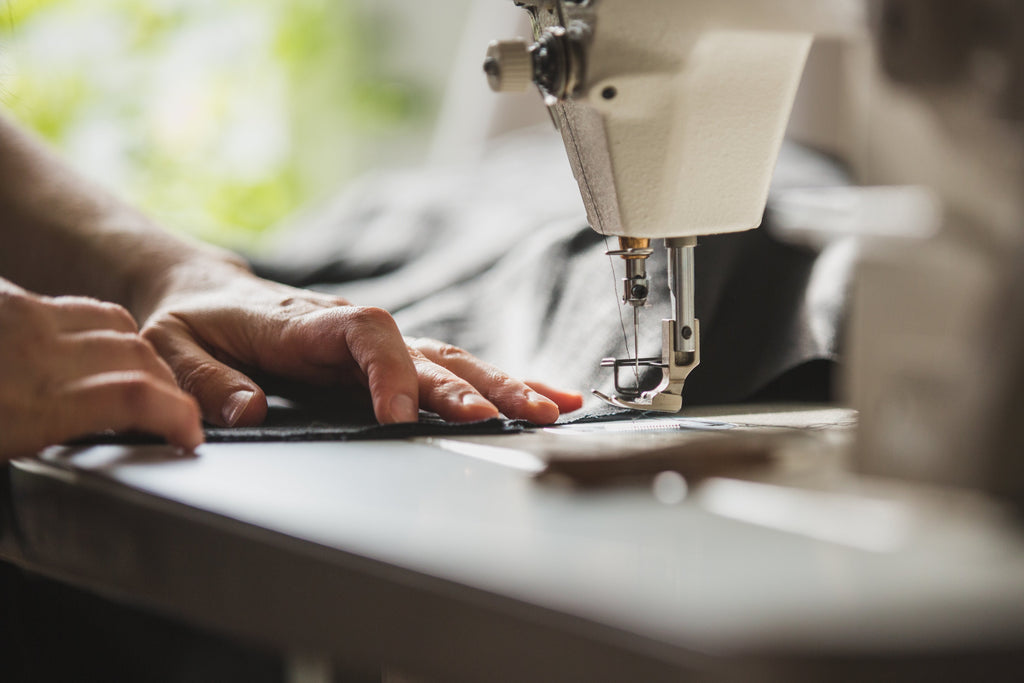
For anyone who sews, you know the lifeblood of what you do is your sewing machine. Keeping your machine in tip-top shape cannot be overstated. The goal is to avoid the aggravation you will surely experience if your machine needs an expensive repair. Taking your machine in for periodic serving and cleaning is, of course, good preventive medicine. In between those cleanings, however, the number one way to keep your machine happy is to clean away lint.
At CNT Pattern Company, we know that when you sew, you accrue lint….it is the nature of the beast. And the more of it you do, the faster the lint will develop. Open the bobbin case to see if lint is gathering. If so, it’s time. If you take the time to regularly clean out the lint, you are likely to avoid the issues and expenses associated with having your machine ‘choke’ on lint.
Are you the type who still has your care manual and tools that came with your machine? If so, follow your care guide for the manufacturer’s step-by-step process. If, however, you are like so many who can find neither the book nor the tools, fear not. A clean cosmetic/make-up brush will be your knight in shining armor (or hair).
Be sure to unplug your machine before cleaning. Then remove the needle [we also suggest discarding it and placing in a fresh replacement]. Carefully remove the presser foot, the bobbin, the bobbin case, and the needle plate. Now you can use your makeup brush to remove any lint and other build-up on each of these vital machine parts. You will likely find that the thickest brushes will work the best. We like working with a powder brush, rouge brush or a short, cut highlighter brush as these will pick up bits of lint and debris more readily.
Brush lint out of the feed dogs, followed by the race area and the section under the feed dogs. Does your machine have a side cover? If so, open it to clean the thread path. If not, try to work the brush down through the thread paths to clean out tension disks. Once done, be sure to tend to the machine’s exterior to remove any debris that landed on the outside of the machine.
Now it’s time to put it all back together. Plug in and turn on your machine. You may choose to do so without the parts you removed earlier. That will tell you if everything is running smoothly. Once you have turned the machine off for a second time, you can replace the bobbin, its case, the needle plate, and presser foot. Pop in a new needle and you are done with cleaning.
You’re now all set. Remember, this should be done every ten or so hours of sewing time to ensure the build-up of lint does not shut your machine [and you] down.
For more tips and tools please be sure to visit our website: www.CNTPattern.com.

Comments
1 comment
Mary Nothnagel
Have a little something jacket and am having trouble with neck line being flat. When ended meet in middle it bulges. Very, very frustrating.
Please advise.
Thanks ma8